Maybe you’ve only had sauerkraut with a hot-dog, maybe you’ve never tried it. But I would argue that everyone should be eating sauerkraut whenever they can! It is FULL of probiotics, those friendly bacterias that help with gut function. And it is really easy to make, I think it’s the easiest probiotic-rich food. We have eaten sauerkraut for the last couple of years, but we started eating it even more when we started the GAPS diet.
It is a simple dish to make and add to the side of any meal you’d like. So, here’s how you can start making it and eating with your own family!
Why Sauerkraut?
Our tummies work hard to process all the food that we put inside them. And the mainstream American diet does not help you gut at all. If you want to read more about that, check out the Weston A. Price foundation’s website, there are numerous articles there for you. But the short story is that you need probiotics to help your gut process the food that you eat.
Many people seek probiotics out in the vitamin section of the store, but the easiest, and cheapest, way to get probiotics in your diet is through making sauerkraut! Just two ounces of sauerkraut has more probiotics than an entire bottle of 100 probiotic capsules! So head to the produce section and get yourself some cabbage instead. Then follow this recipe for the easiest probiotic food ever.
We personally make sauerkraut and eat it daily because it helps meet our needs for the diet we are on, the GAPS diet. You can read more about our experience with the GAPS diet here.
How to Make Sauerkraut
Ingredients:
1 head of cabbage (green or purple; preferably organic)
1 tablespoon real salt
Tools:
large mixing bowl
sharp knife and cutting board (or salad shooter/kitchen aid attachment)
glass jars
potato masher (optional)
Dice Cabbage, Squash and Squeeze
The first thing you’ll need to do is buy a head of cabbage or two. You can use white cabbage or purple, I’ve used both and they are equally tasty. Organic cabbage is preferable. You can read more about organic produce on the Weston A. Price foundation website.
Now take your cabbage and peel off the first few leaves, set aside. Then dice the rest up into small pieces. It doesn’t have to be too uniform, just small. If you have a salad shooter or an attachment for your kitchen-aid, they are very useful in dicing up the cabbage. But you can also use a simple knife and cutting board.
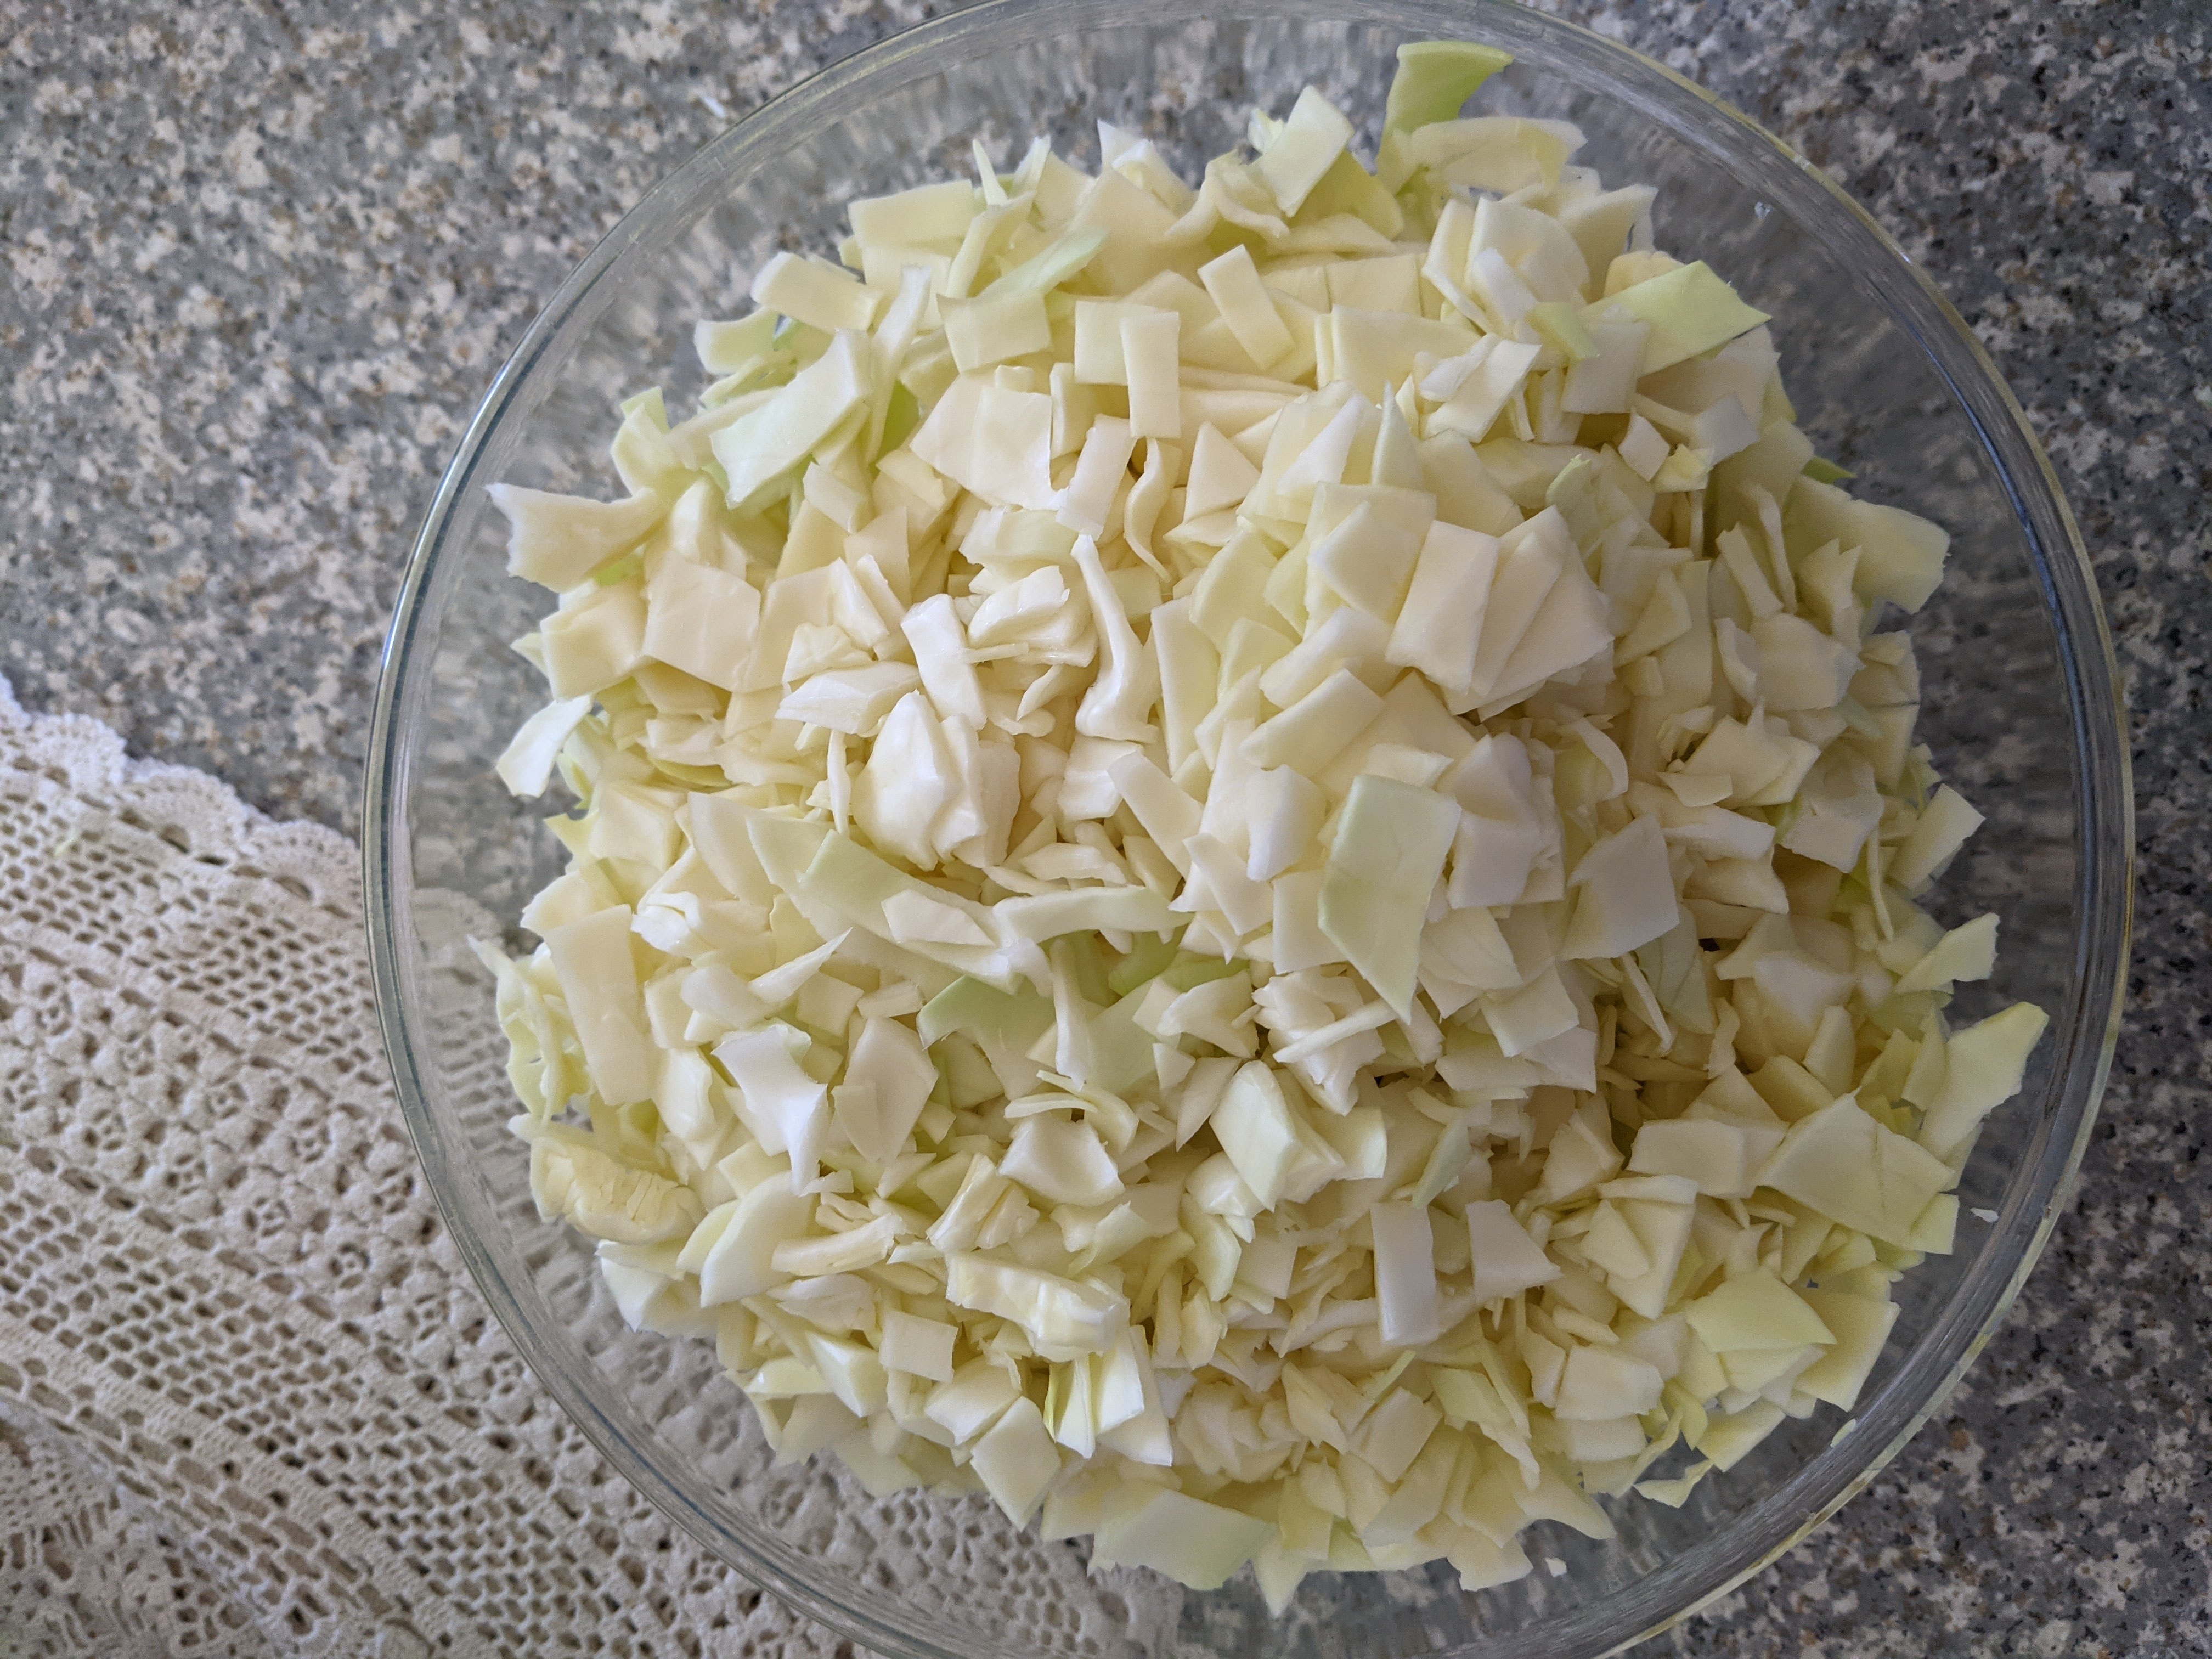
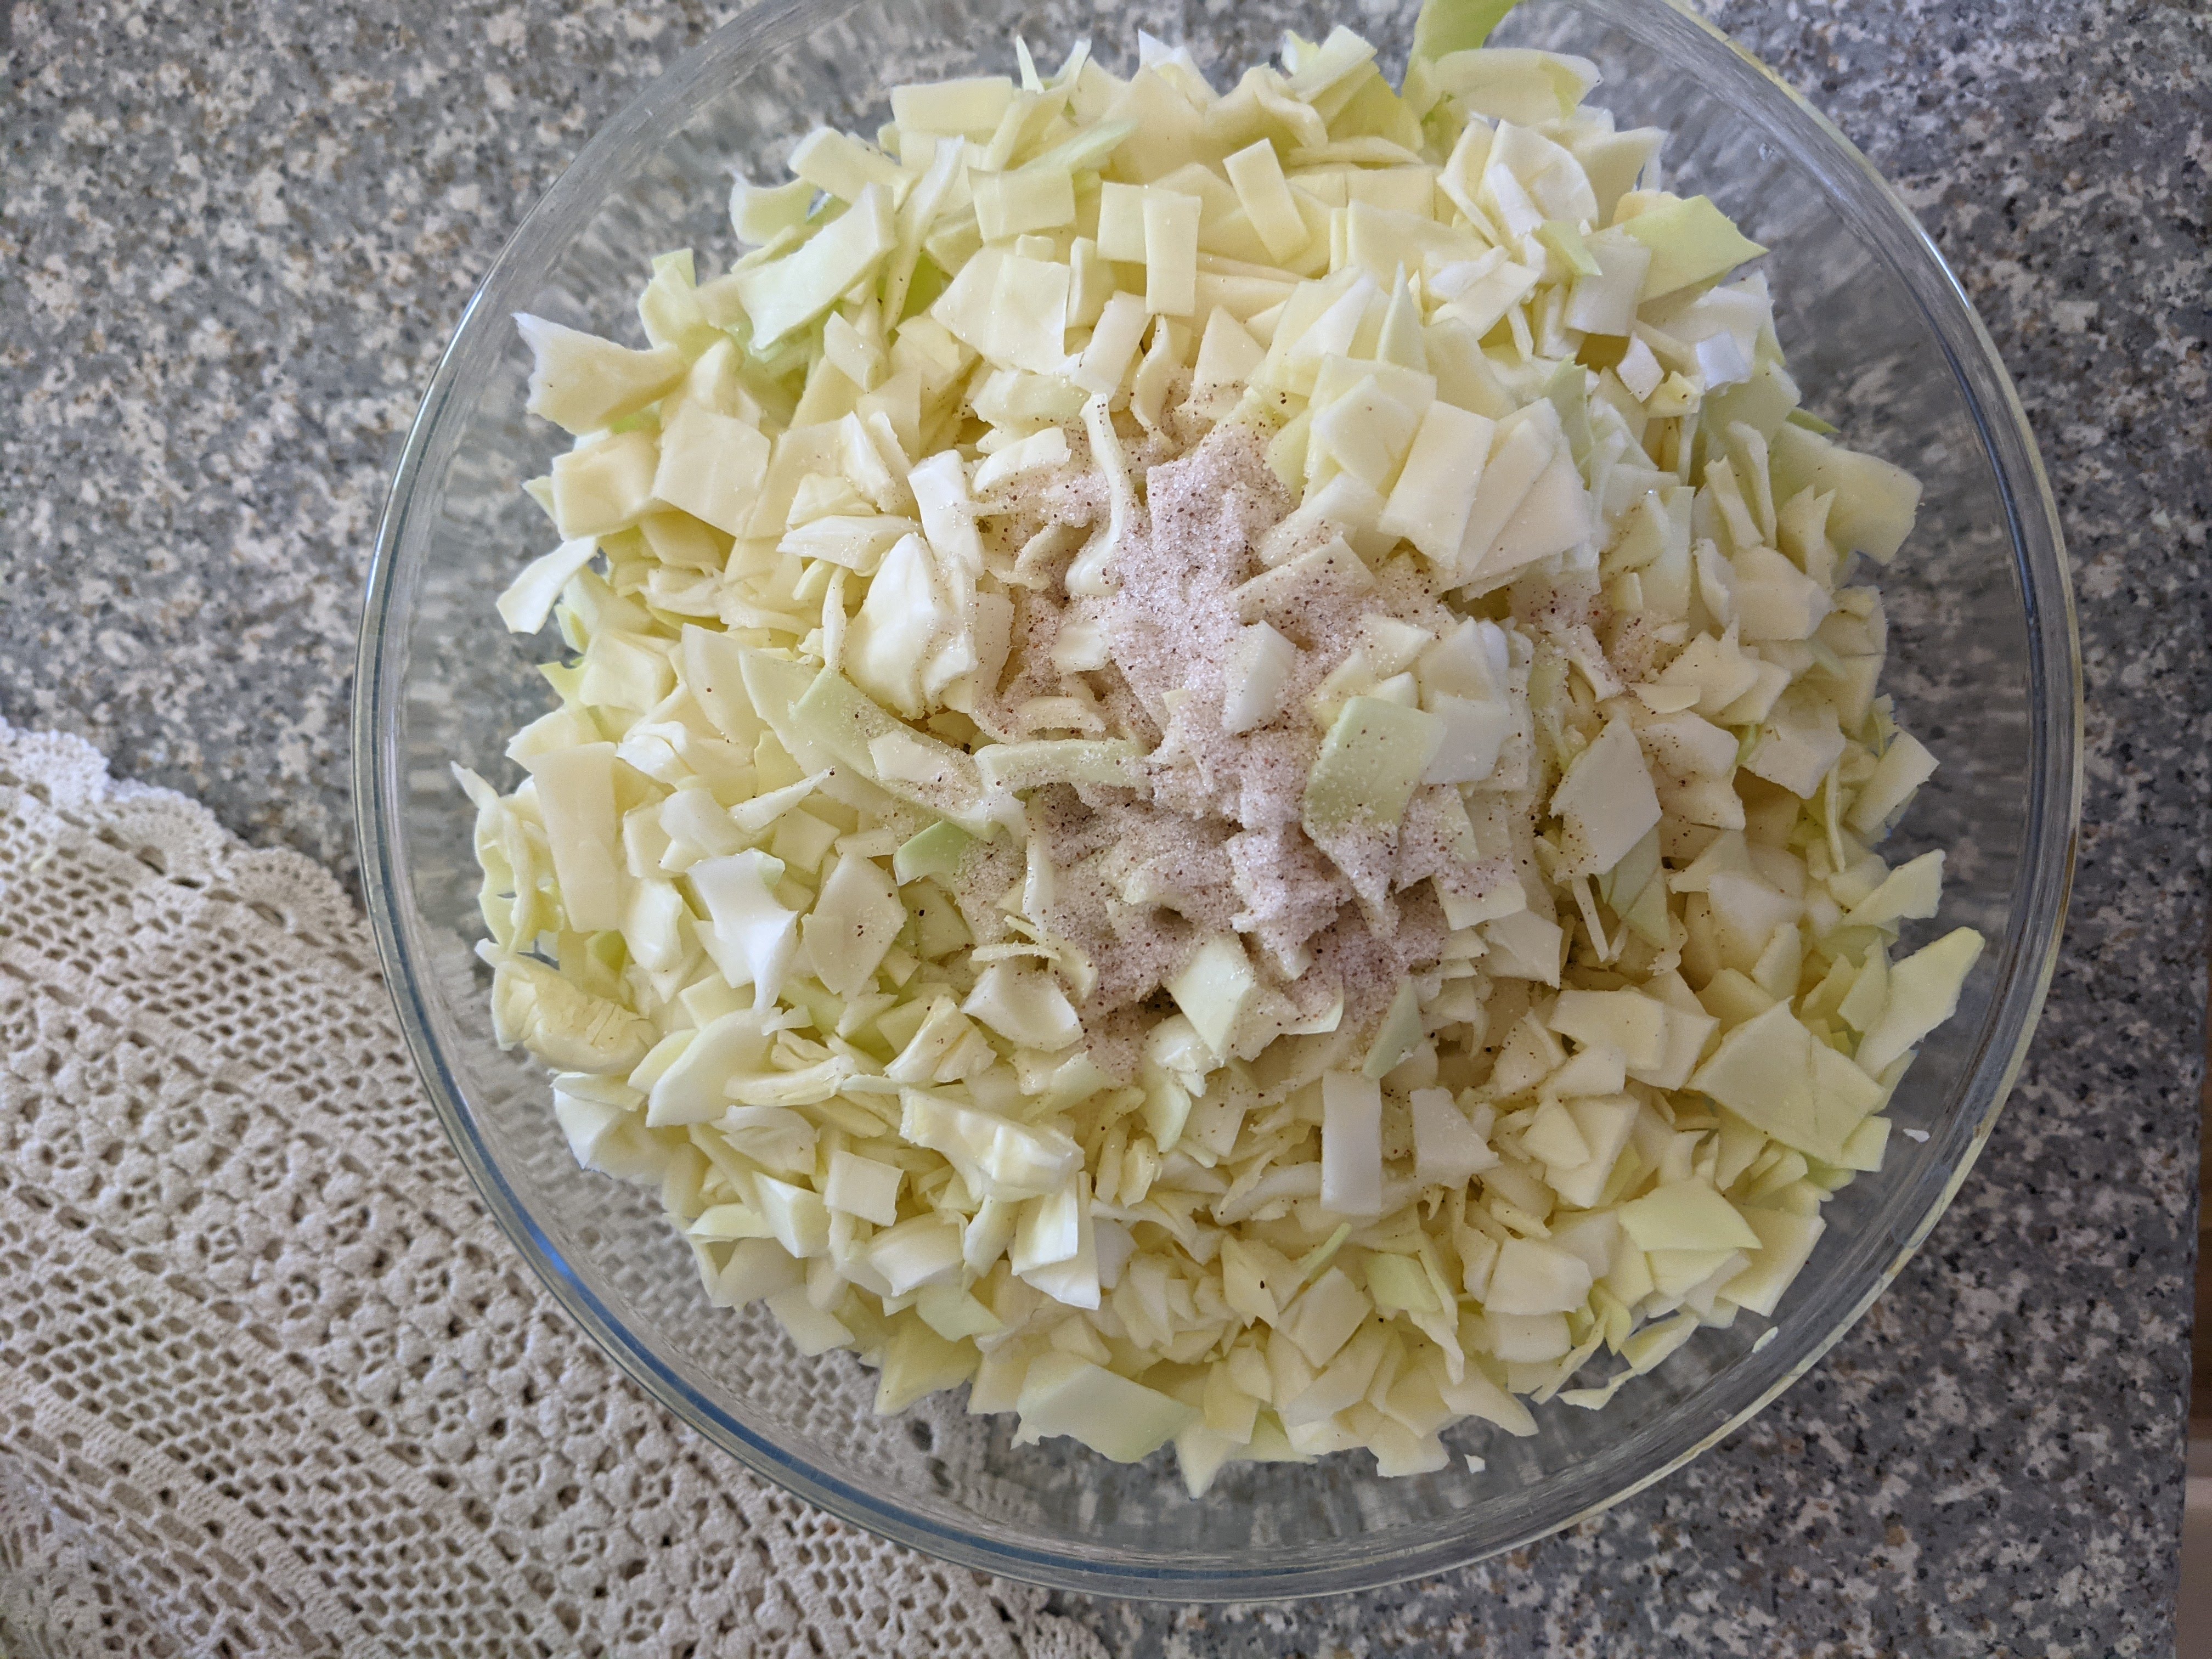
Once the cabbage is totally diced up, add it to a bowl and sprinkle 1 tablespoon of salt onto the cabbage and gently stir.
**I should add a short note that the type of salt you use in your house is important. Many salts available today have non-caking agents included which help to keep the salt from sticking together through chemical processes that can be harmful to your digestion. I recommend using mineral salt from Real Salt. I’ve gotten salt from this company for years, and I love it!
At this point in the sauerkraut making, you can either leave it sitting for a couple hours or continue. I’ve found that if I leave the cabbage sitting with the salt on it for an hour or two it makes the next step much easier, so if you have the time, let it sit.
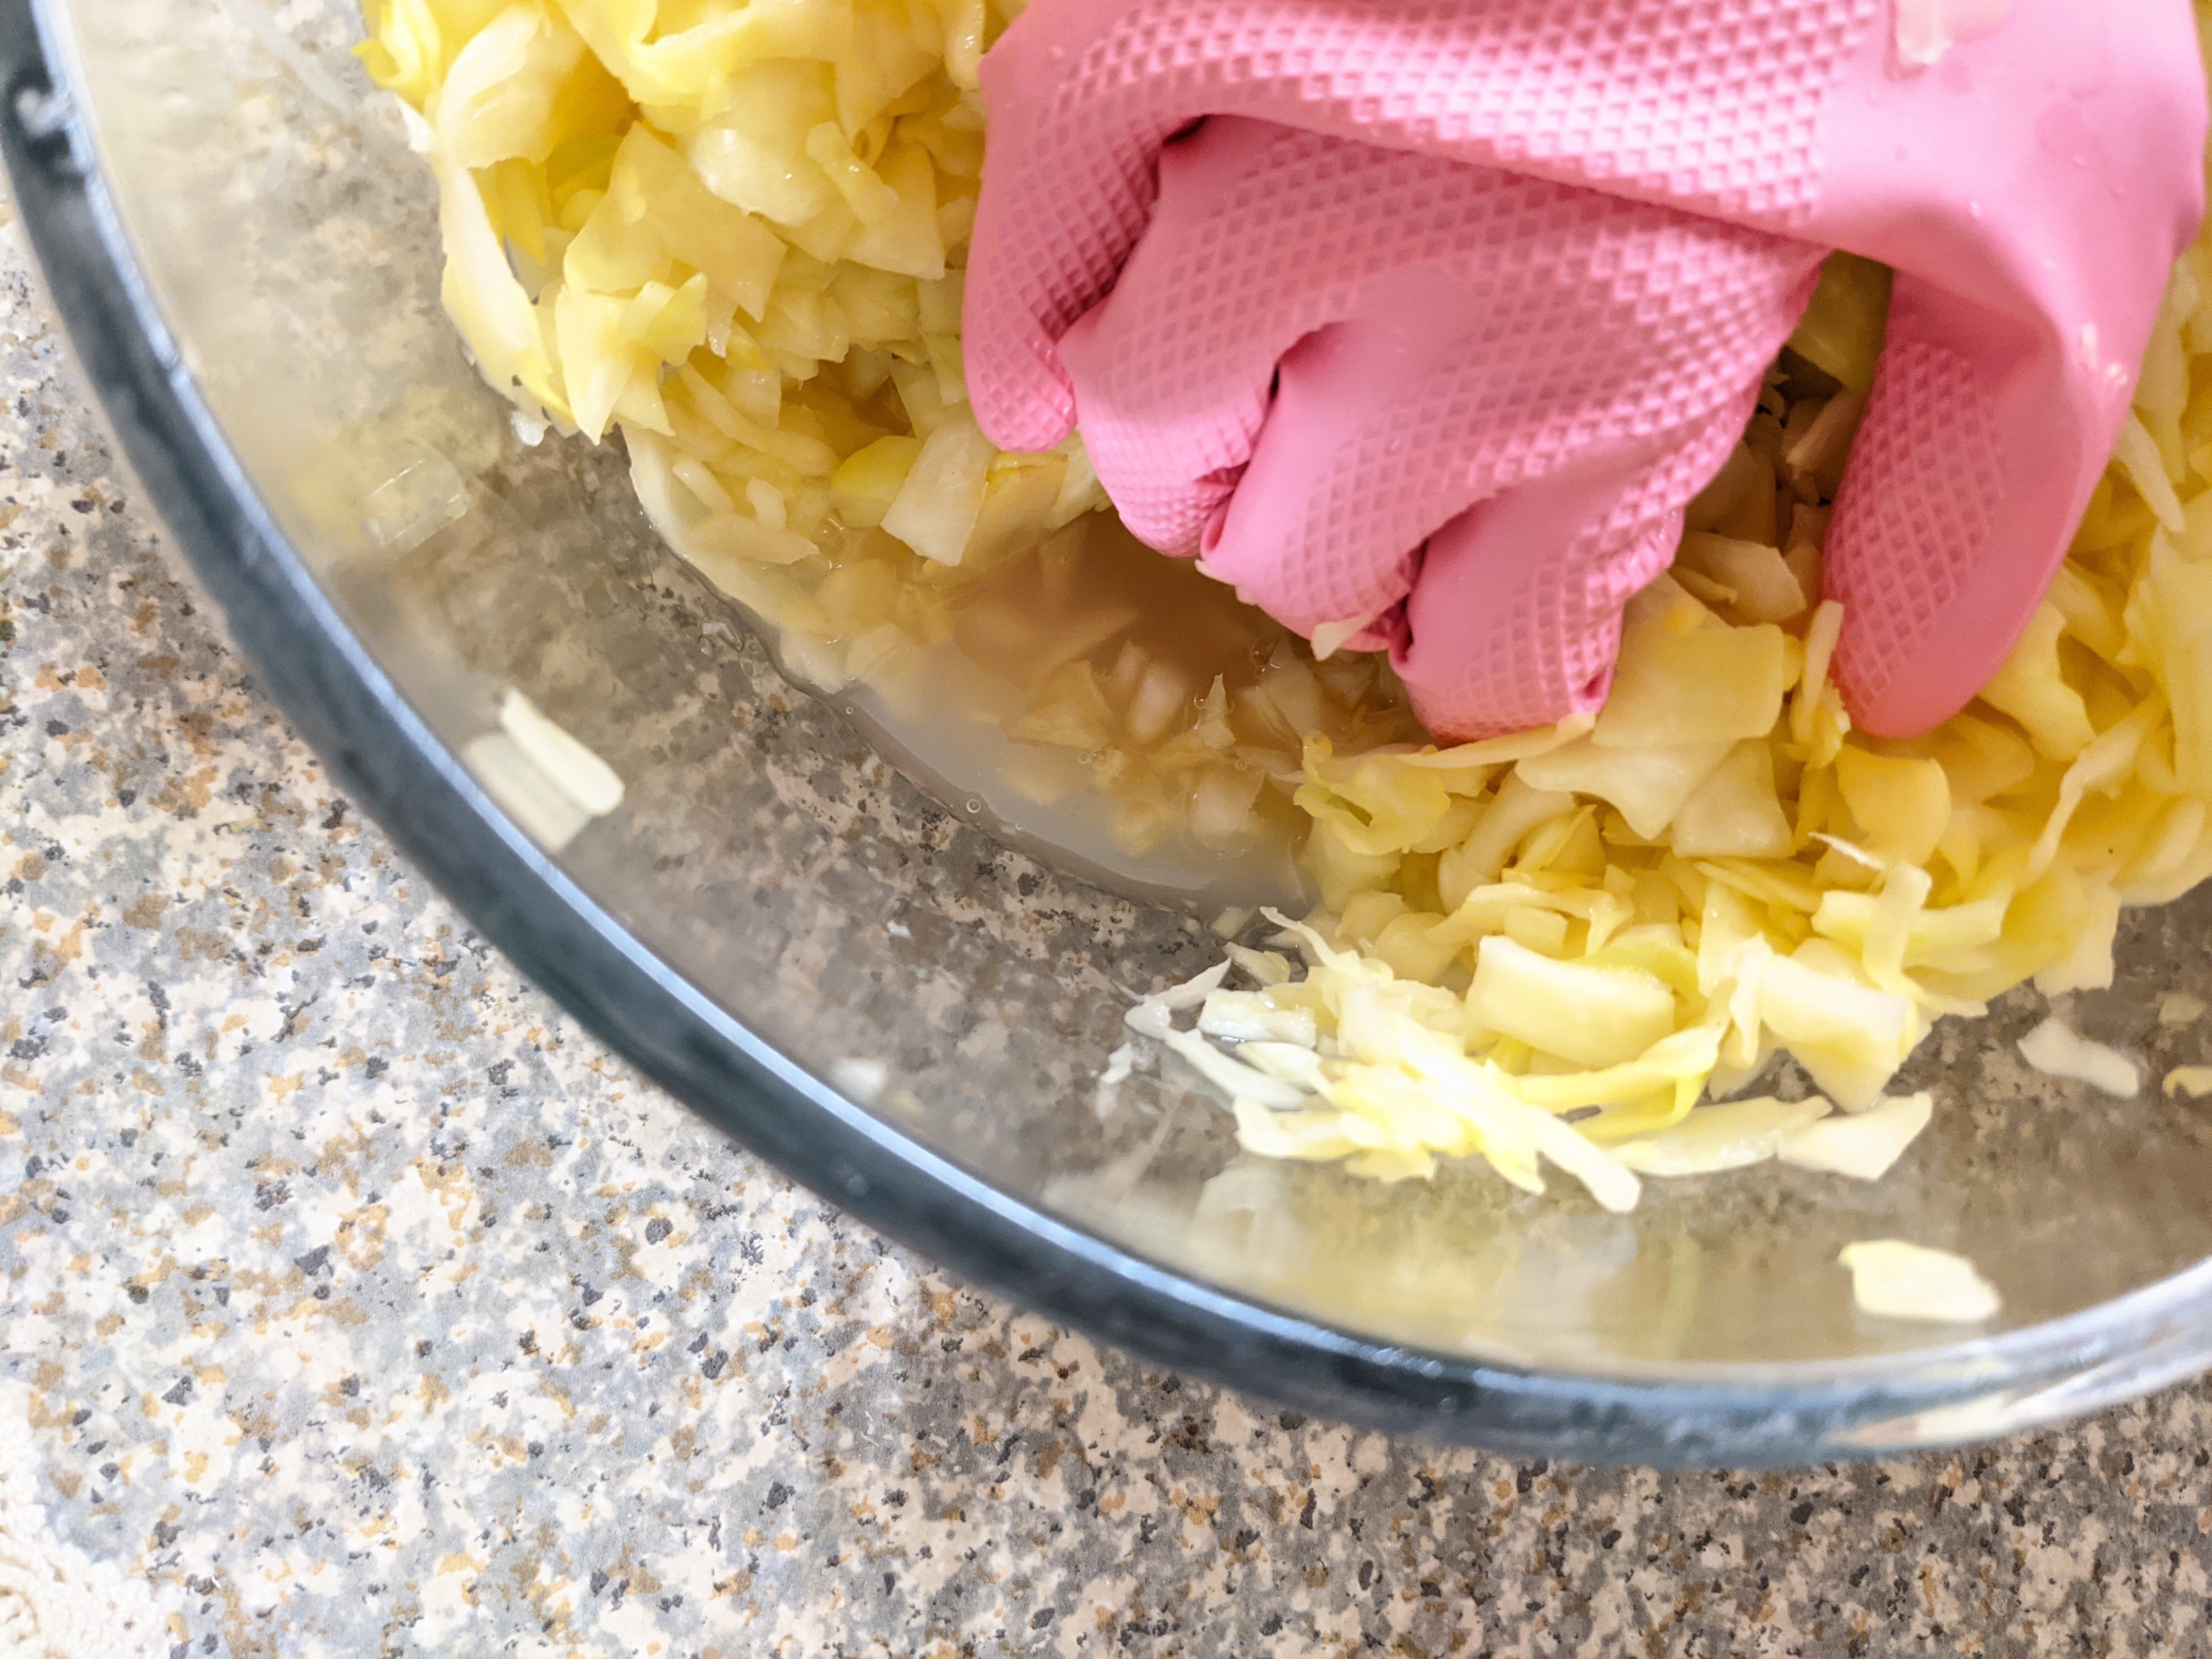
Use your hands to stir the sauerkraut together with the salt. But you have to do a bit more than stirring, you want to squeeze and squash the sauerkraut so that all the juices start to come out. It sounds harder than it really is. Just take your hands and punch down the cabbage then squeeze it together in your hands rubbing it around as it falls out of your hands back into the bowl. I would suggest wearing gloves for this part if you have sensitive hands, the salt can be quite rough. You can also use a potato masher to mash the cabbage together if you like.
After you’ve squeezed and squashed for a while, you should start to see the liquid forming in the bottom of your mixing bowl. This is excellent! Keep going until there is a lot of liquid in the bottom of your bowl.
Fill Jars with Sauerkraut
Then take out your glass jars and start stuffing the cabbage into them. I usually just place the clean jar inside the bowl of cabbage and fill it up there to avoid a mess. As you put the cabbage in the jar, press it down with your hand as much as possible. You’ll see the liquid level start to rise as you do this.
The important part in filling the jars is making sure that there is enough liquid to cover all of the cabbage in your jar. If you do not have enough liquid, simply pour out the cabbage back into the bowl and repeat the squashing and squeezing for another few minutes.
You need to have the liquid completely covering the cabbage when the jar is full. This is to make the cabbage ferment and prevent it from molding. Sometimes you really have to press down hard to make all the liquid come out in the jar. Don’t be afraid to really jam it in there.
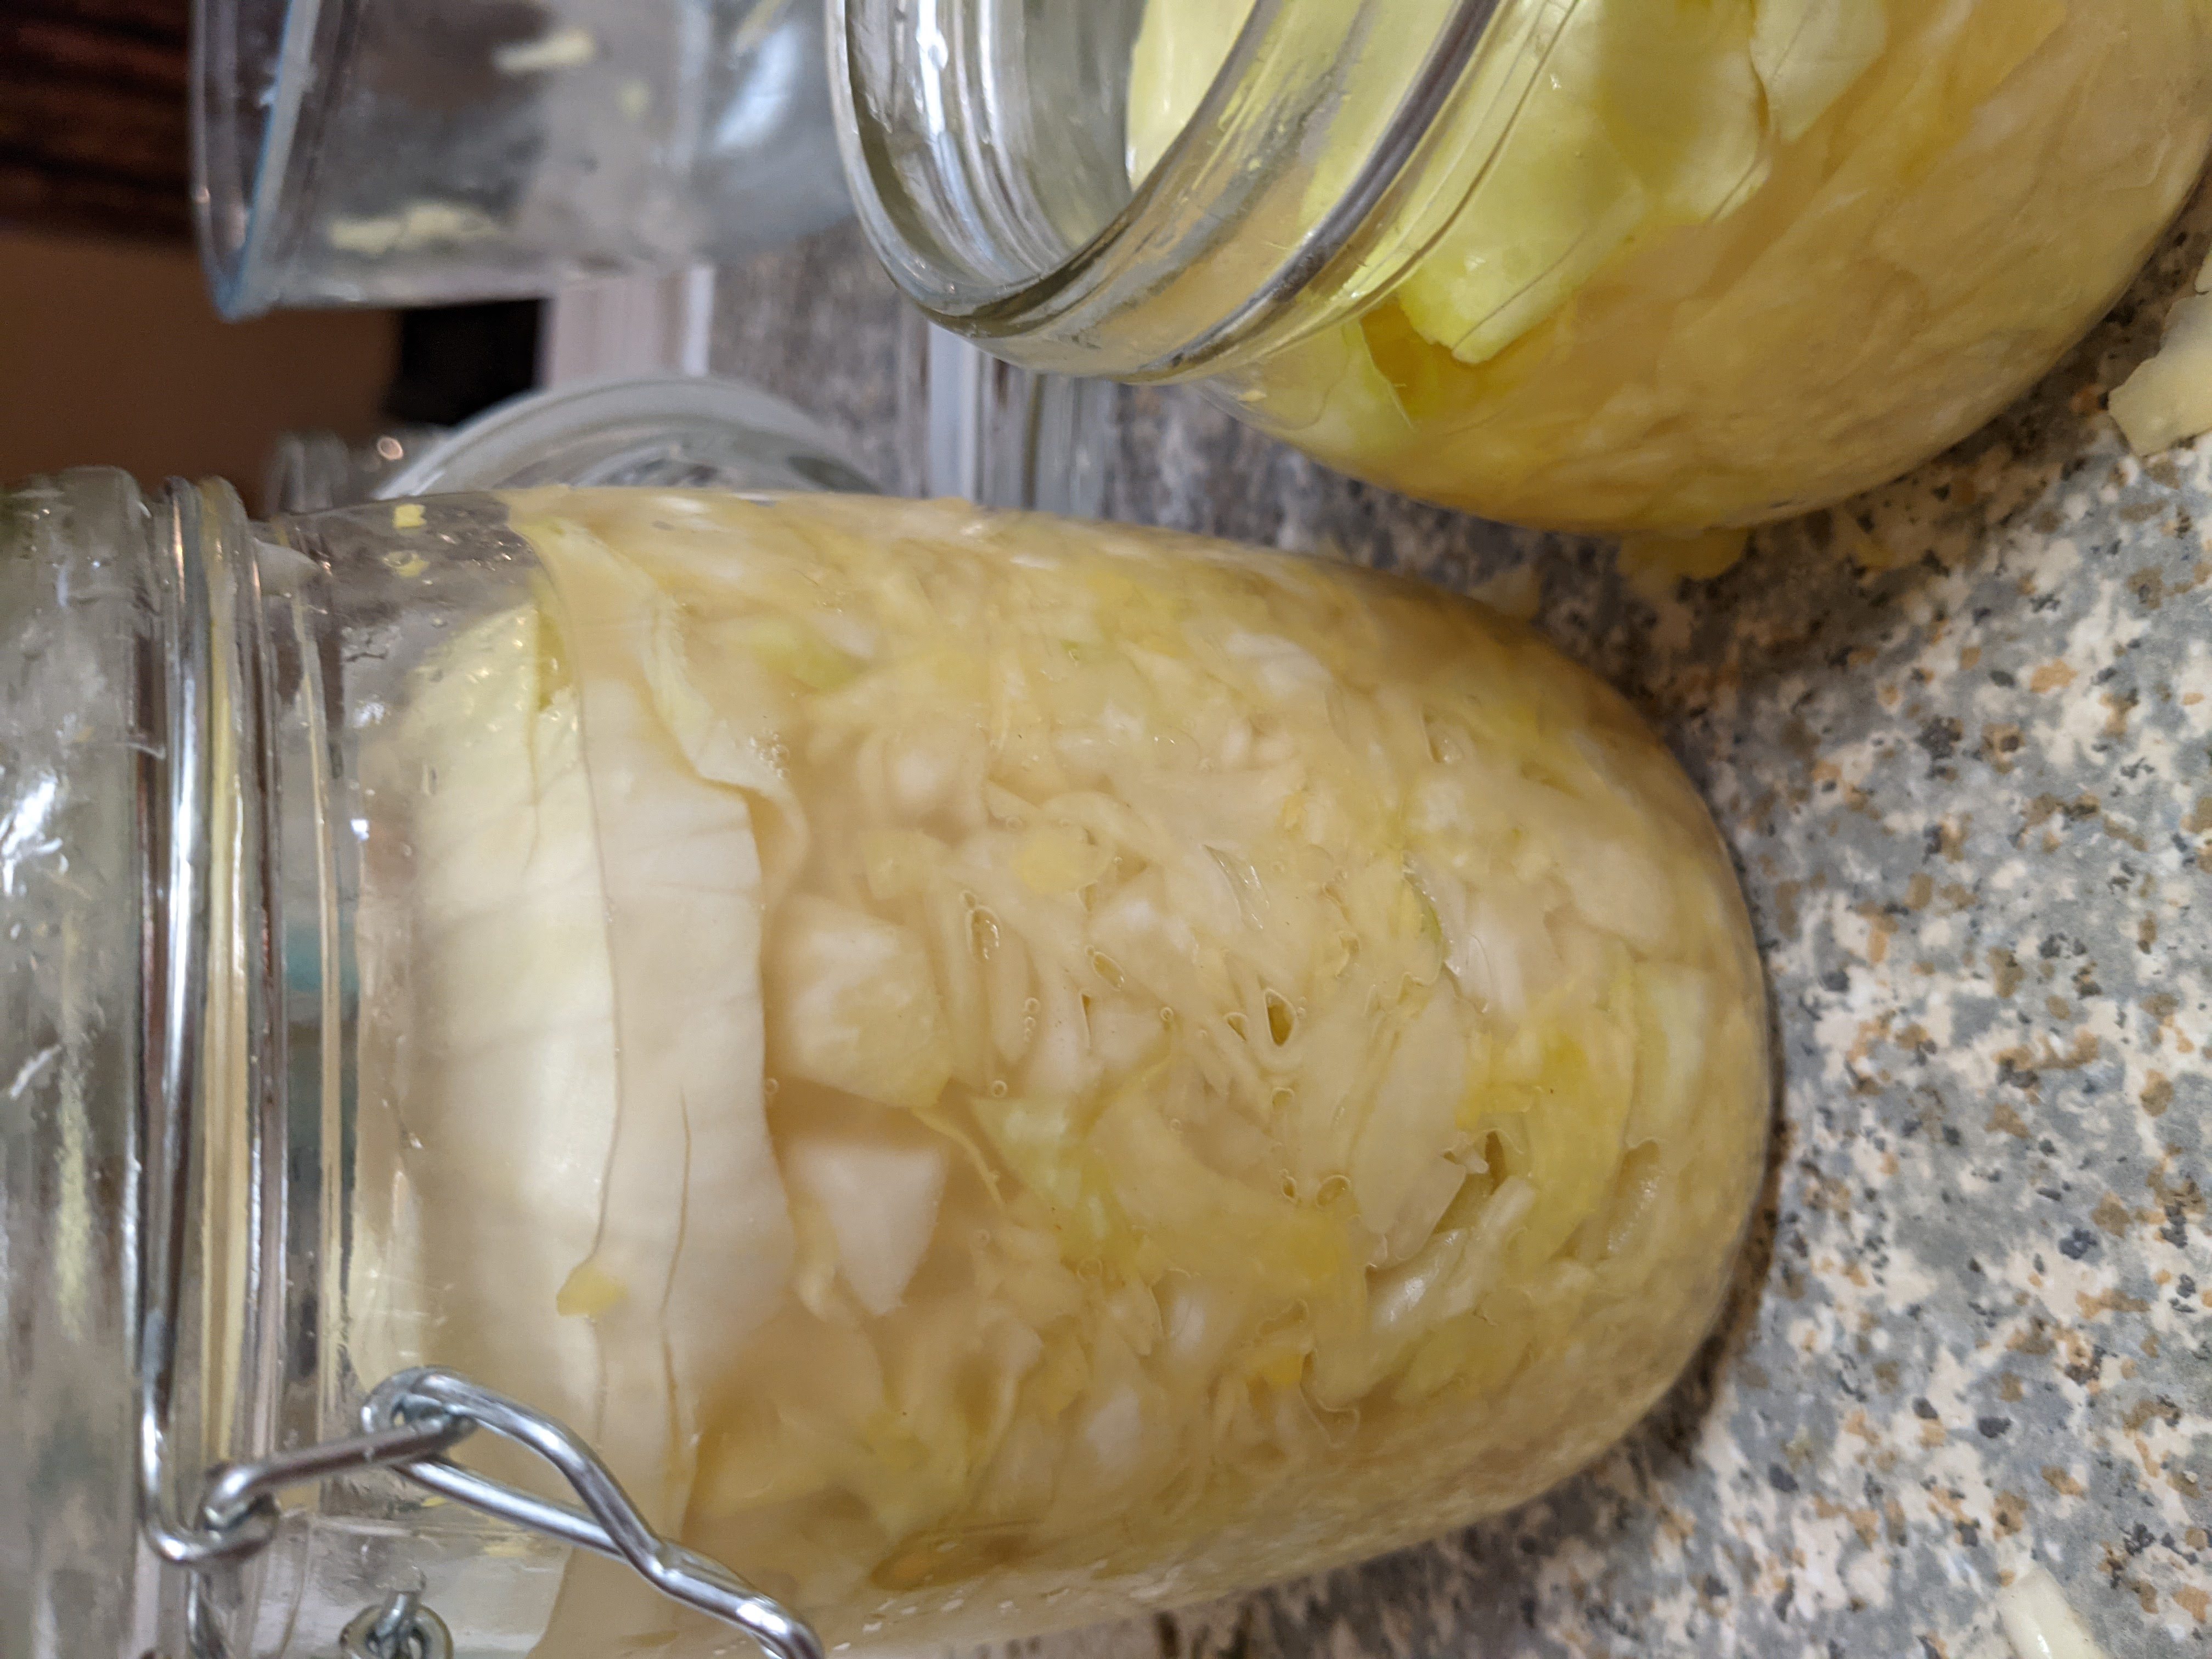
Then when the liquid is covering the cabbage pieces, place the leaves that you set aside earlier on top of the cabbage pieces and push those beneath the liquid as well. Adding the leaves to the top is optional, but I think that it helps to keep the cabbage below the surface of the liquid as it ferments.
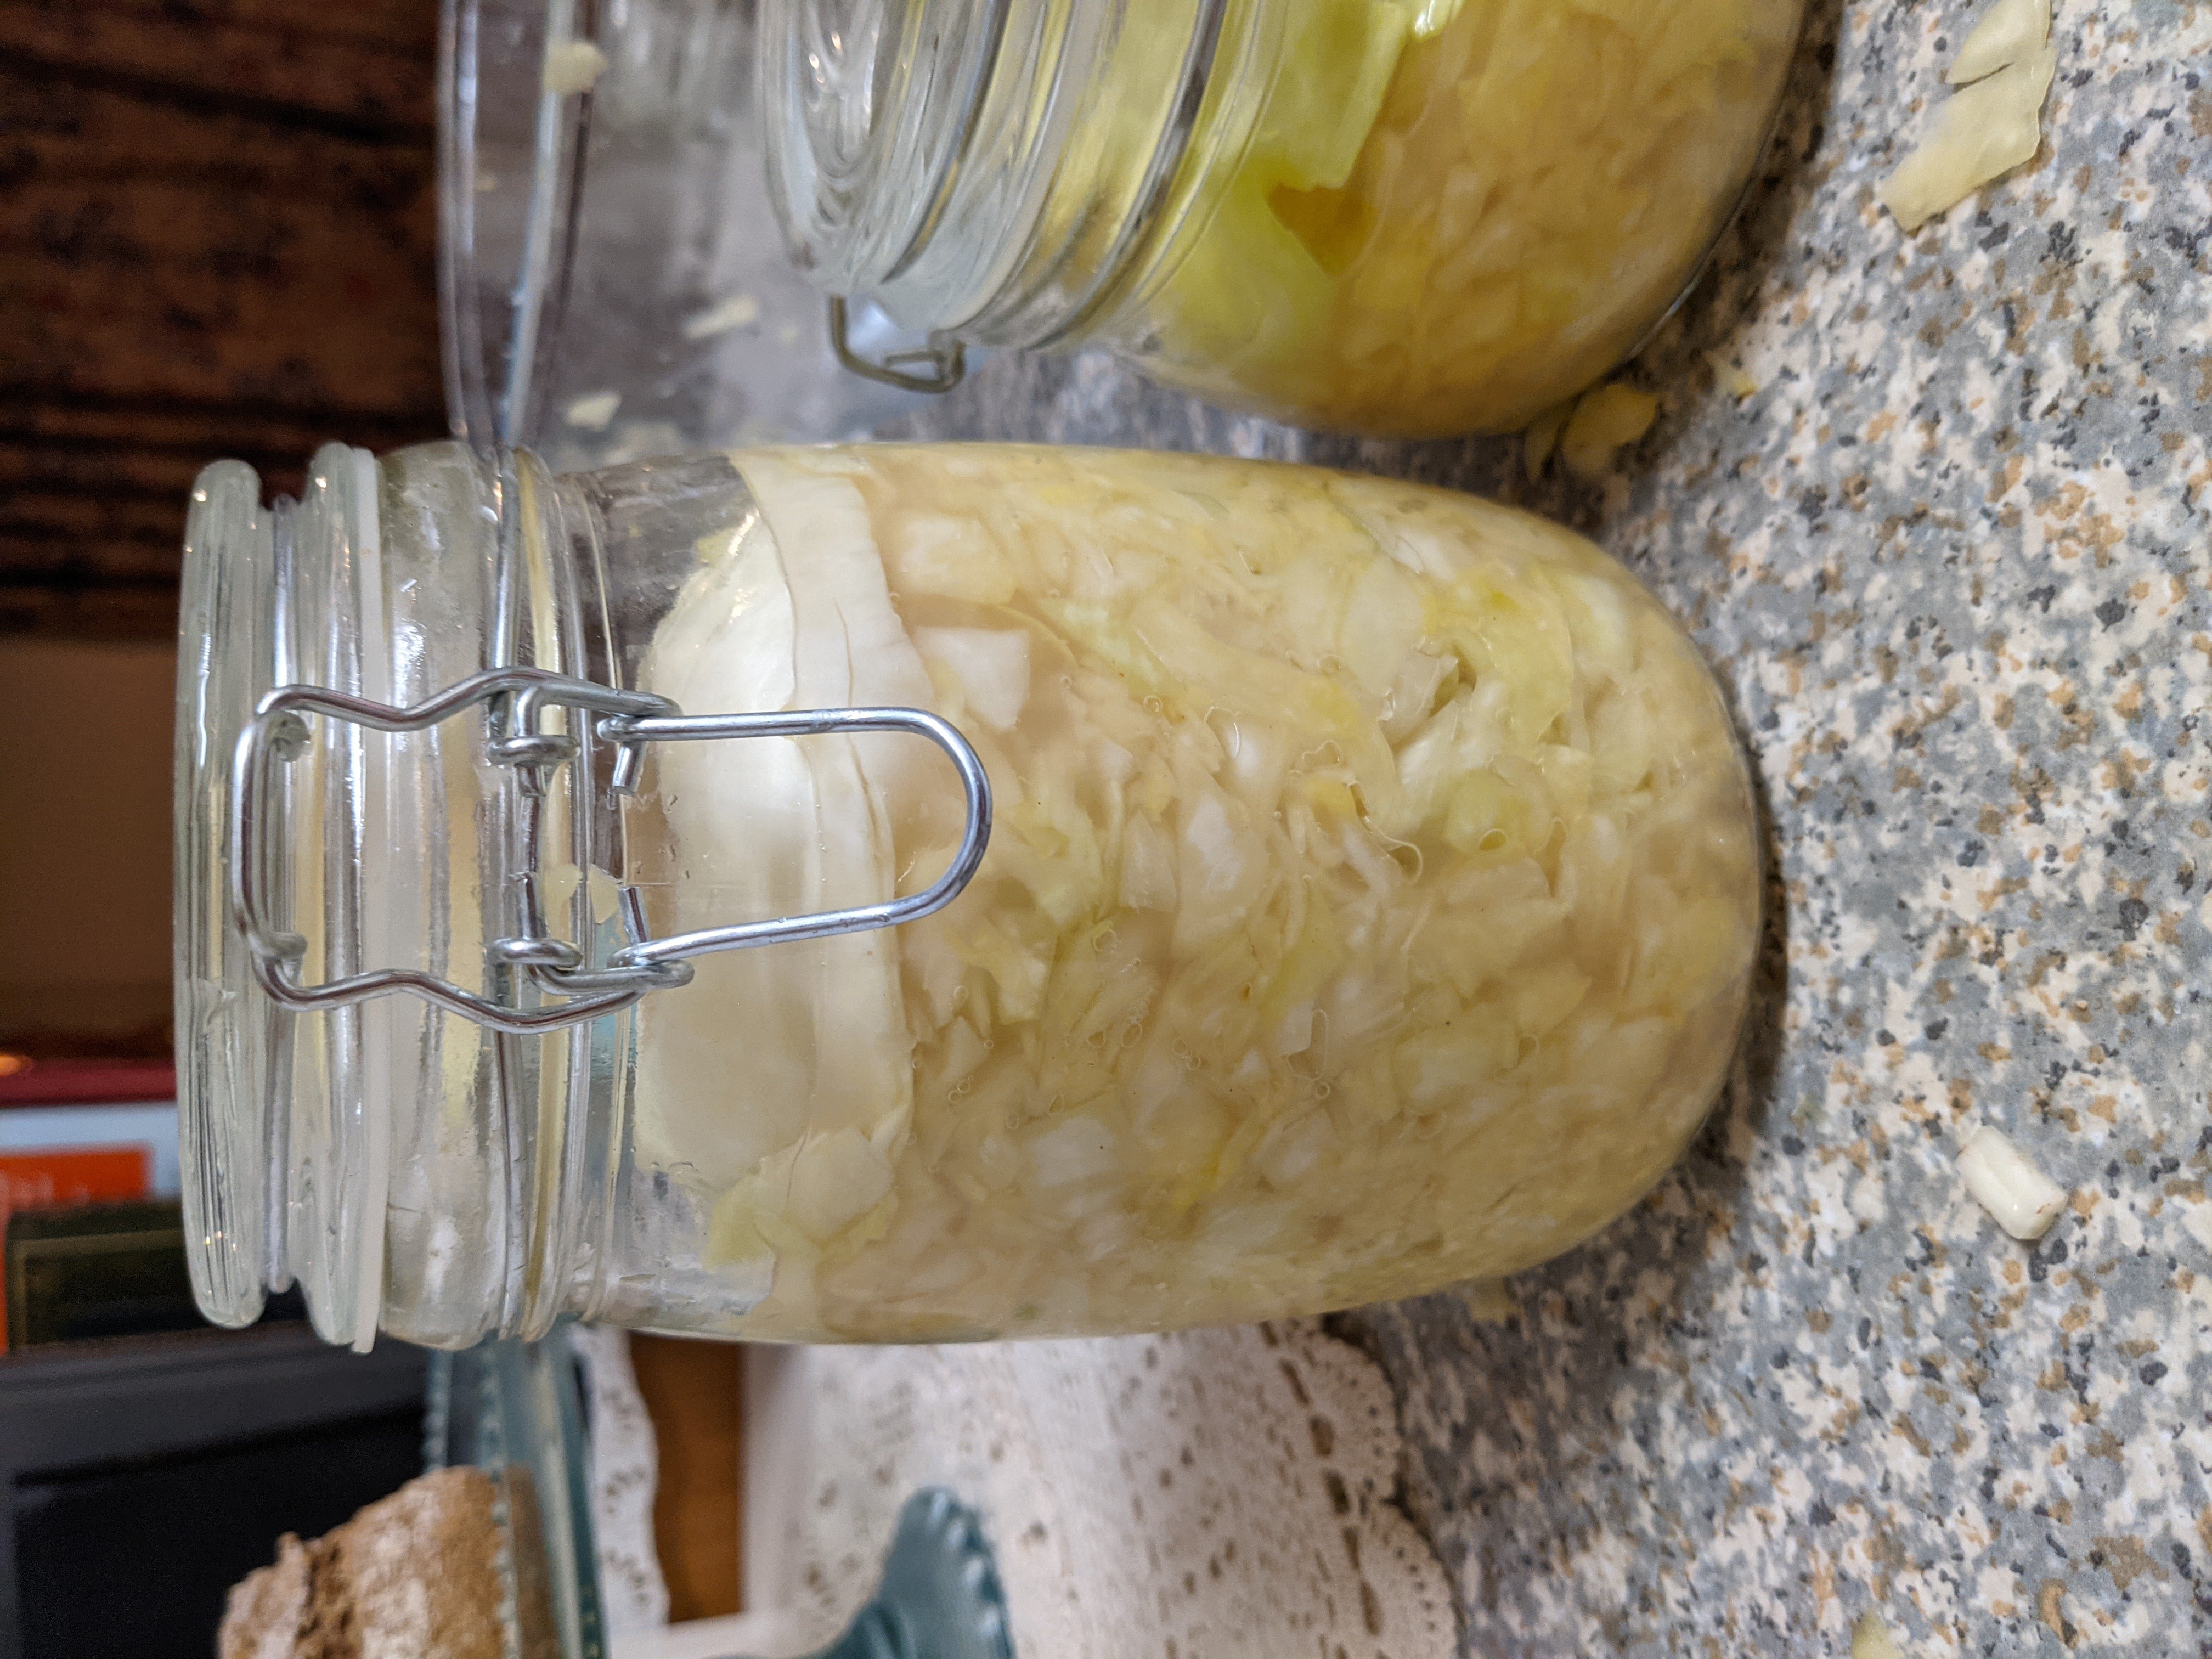
Leave on Counter
If everything is under the liquid, then you’re done! Close the jar with a lid and leave it on your counter to ferment for 5 days (depending on the temperature in your house). I usually let mine stay on the counter for 7 days, but I like the extra sour taste.
As it is sitting on the counter, make sure that the cabbage stays covered in the liquid. It may expand some as it is fermenting, so you may need to press it back down again below the liquid during the 5 days on the counter. It is possible that it could mold if you do not press it down under the liquid during fermentation. (Some people use weights like these to keep the cabbage in the liquid).
After the 5 days have passed, give it a taste and see how you like it. If it’s not salty enough, you can always add more salt. But you want to make sure that it tastes nice and sour, that means that it’s fermented and full of those helpful probiotics.
Storing and Serving
You can store fermented sauerkraut in the fridge for up to a year! It will continue to ferment slowly in the cool refrigerator though, so it would be VERY sour by then.
Serve your sauerkraut with whatever meal you like. I especially like it with our lunches (like this chicken salad) as a crunchy treat or with a good pot roast and veggies. We also eat it as a snack throughout the day to get some extra probiotics in. It’s very easy to have as a side dish for meals by just pulling out the jar and setting it on the table with a spoon to serve.
One closing tip is that if you’ve got the room in your fridge, make a couple batches of this recipe at once. Because the sauerkraut lasts so long in the refrigerator, you don’t have to worry about it going bad and it’s much easier to make a lot at once than to make little batches all the time.
Enjoy this tasty, probiotic-rich food! Let me know if you give this recipe a try in the comments!
More Recipes:
Yogurt in the Instant Pot
DIY Chicken Meat Stock
Chicken Salad
South Indian Chicken Biryani


1 Comment