Biryani is my husband’s favorite food, and it’s no surprise to me. This classic South Indian dish is packed full of deep flavors and is hard to resist. I’ve worked hard to figure out a good recipe for this dish as it can get complicated and now I have it ready for you! Give it a try and you will be hooked. 🙂
Ingredients:
For the Marinade:
Half cup coconut oil
3/4 cup plain yogurt
Juice of one lemon
2 tablespoons chili powder
2 tablespoons biryani powder
2 teaspoons turmeric powder
1/8 cup chopped coriander (cilantro)
1/8 cup chopped mint
1 tablespoon salt
9 finger chillies (serrano peppers) cut into large pieces
2 two in pieces of ginger, peeled and grated
1 bulb of garlic, minced (Or 2 tablespoons ginger garlic paste)
2kg skinless chicken thighs
For the rice:
3 cups basmati rice, soaked in water
2 onions sliced thinly
2 TBLS coconut oil
1 bunch coriander (cilantro)
1 bunch mint
3 tablespoons whole milk
1 teaspoon saffron
3 T butter
1 T black cumin seeds/shahi jeera
1 T salt
Water for boiling rice (about 5 cups)
For raita:
1 small onion, diced
1.5 cups plain yogurt
South Indian Chicken Biryani
Some substitutions can work for the ingredients listed. Olive oil or avocado can be switched for the coconut oil. And, yes, the coconut oil will stay in a big chunk during marination because of the cool temperature in your fridge. This should not be an issue. You could use a tablespoon of vinegar if you don’t have a lemon on hand to juice. However, the other ingredients should not be left out or substituted as that would drastically change the taste of the dish.
That being said, you may have a hard time finding a biryani powder. It is a mix of spices specifically for making biryani flavorful. If you have an Indian store (even better if it’s southern Indian) close to you, check there. It is sold as a product itself. I’m really grateful to my mother-in-law who has always made this spice blend for me and keeps my pantry stocked. If you can’t find it in the store, you can also make your own. Though I’ve never done it, these instructions from Swasthi’s Kitchen would be good ones to follow.
Skinless chicken thighs with the bones are the best cut that I’ve found for this recipe, however, any cut of chicken would work (chicken breast would cook a bit faster). Just make sure to remove the skin prior to marinating.
Marinade the Chicken
The night or morning before you’d like to eat the biryani is when you want to start the marinade. Add all the listed items except for the chicken to a large glass bowl with a lid (that will fit in your refrigerator) or a large ziploc bag. Mix the marinade ingredients together well before adding the chicken.
Leave the marinating chicken in the fridge until you are ready to cook your dinner. I plan to start cooking this dish two hours before it is time to eat so that there is enough time for all the steps.

Preparation of Layers
Biryani is a dish cooked in layers. The base layer is the marinated chicken, then the rice on top of that, then the toppings on the very top, all cooked covered so that the flavors become very aromatic and deep. Once you’ve marinated the chicken ahead of time, you have that first layer done, so now you need to prepare the other layers before cooking.
1. Soak the rice
Pour 3 cups of rice into a bowl and cover with water, give it a stir, and set aside. Soaking the rice will help it be light and fluffy later on. It should soak for around 30 minutes, which is how long preparing the rest of the layers will take you.
Pull the marinating chicken out of the fridge and set aside as well, especially do this if you used coconut oil so that the oil can soften up a bit before cooking.

2. Cook the onions
Place a medium/large size pot on medium heat with the 2 tablespoons of coconut oil. You will also cook the rice in this pot, so make sure it is big enough for that as well.
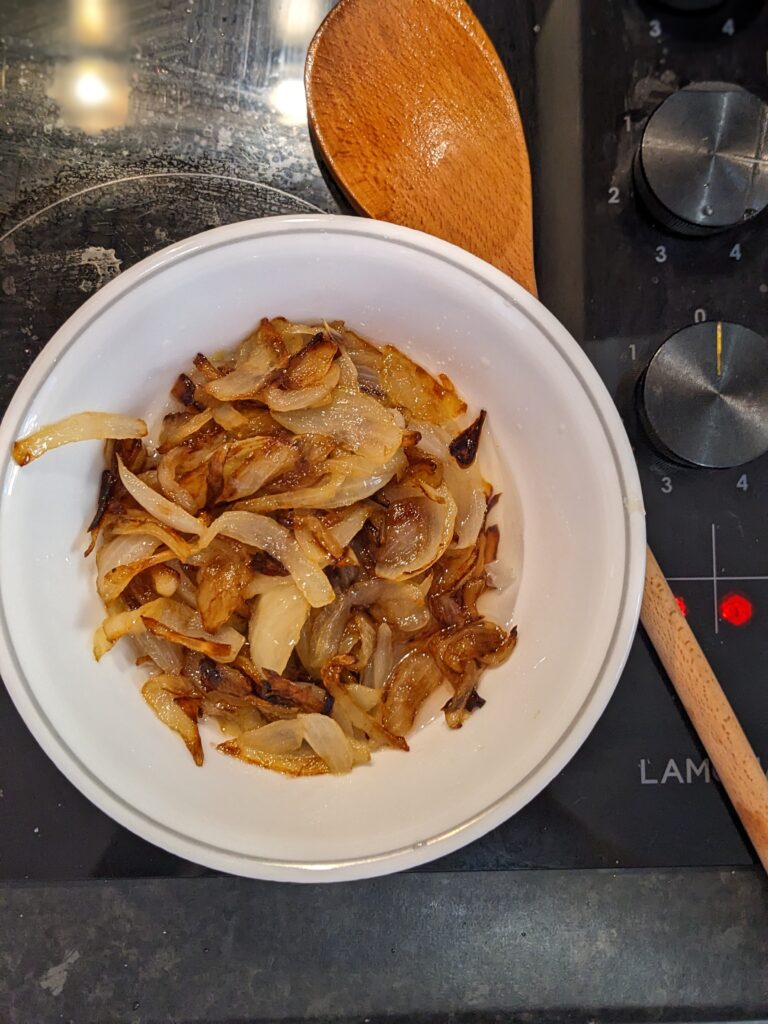
Slice the onions (red or white are fine) very thin and once the oil is hot, saute the onions in the pot. Keep the temperature to medium and saute until the onions are a nice, golden brown color. Remove from the pan to a plate and set aside.
3. Prepare the toppings.
As the onions are cooking, prepare the other toppings for the dish.
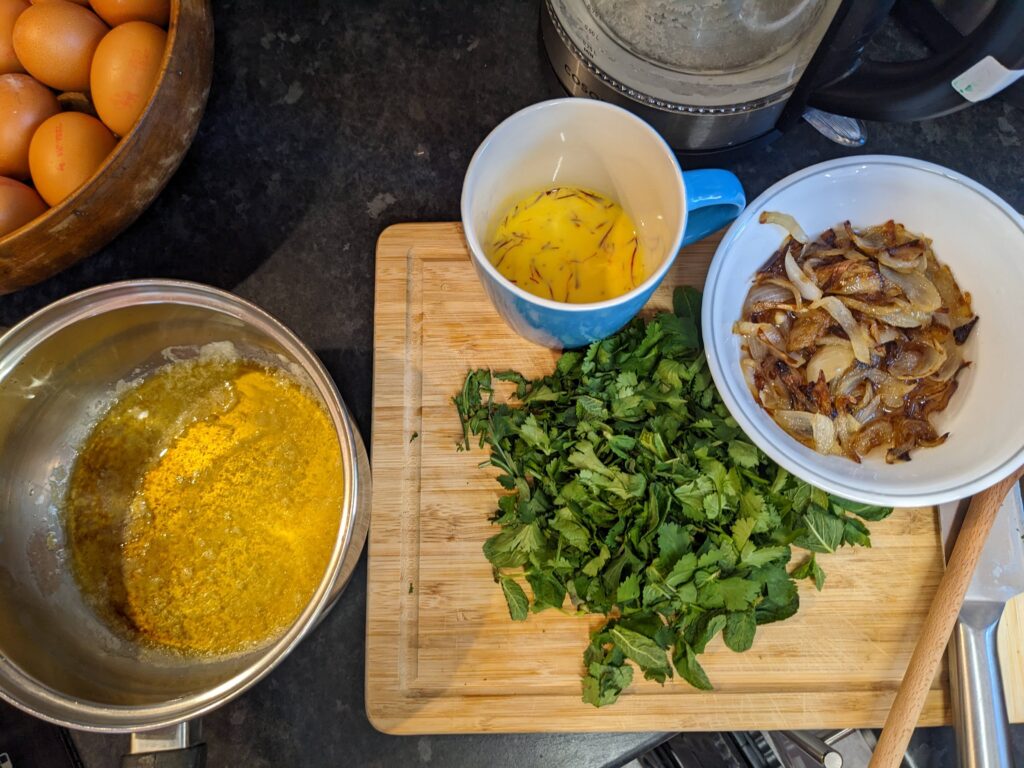
Warm the 3 tablespoons of milk in a small pot on medium heat, do not boil. Place the saffron strands into a mug or other heat-safe dish. When the milk is warmed, pour it over the saffron strands and set aside.
After pouring out the milk, place the 3 tablespoons of butter in the same small pot and return to heat. Melt the butter, do not brown it. Take it off the heat and set aside.
Finely chop the rest of the coriander (cilantro) and mint bunches, removing the stems. Set aside.
I usually assemble all of these items on a large cutting board or plate so that I don’t leave anything out when it’s time to add it to the biryani.
4. Arrange the chicken
Using a large, thick-bottomed pot, you will now arrange the chicken that has been marinated.
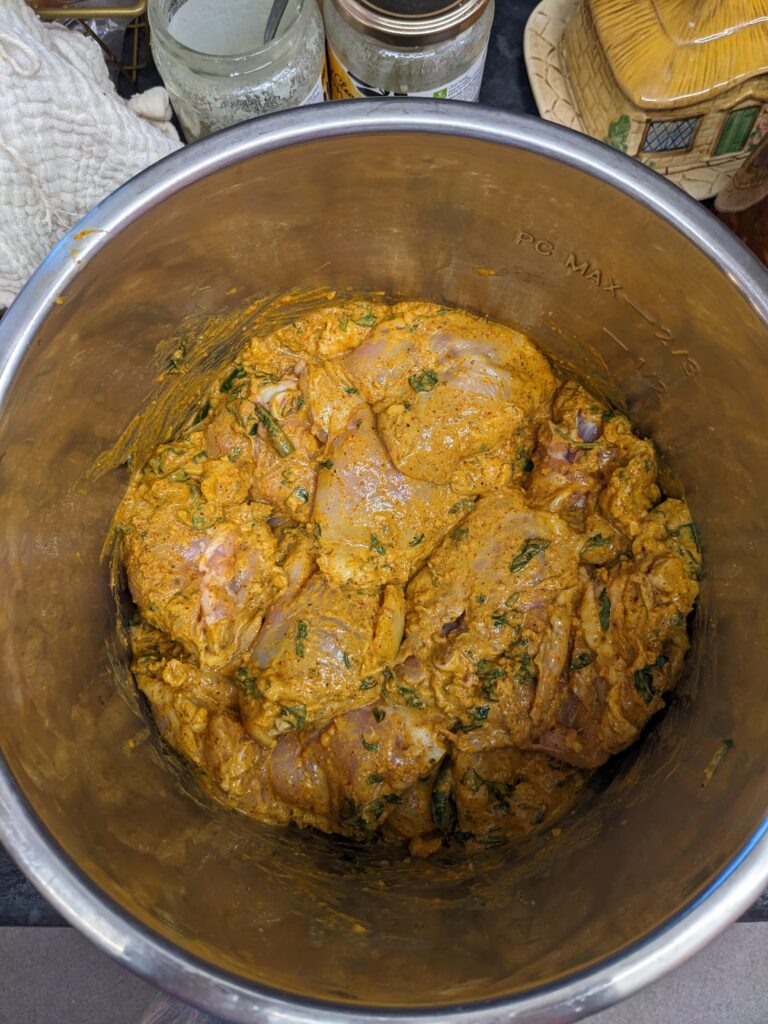
I like to use my instant pot pot (just the stainless steel inside) for this dish.
Place the marinated chicken into the pot creating a single layer in the bottom. As best as you can, do not layer the chicken pieces on top of each other. Turn some sideways to go up the side of the dish. Once all the pieces are in, press down firmly so that they touch the bottom of the pot. Set aside, but close to your sink if possible.
5. Prepare the rice.
If you do not get all the topping prepared while the onion is frying in the oil, you can continue preparing the toppings while the rice cooks.
After the onions have gotten golden brown and been removed from the pot, fill it with water and return to the stove at high heat. Add the tablespoon of salt (I make sure it is real salt, not table salt), to the water along with the tablespoon of black cumin or shahi jeera. Bring this to a boil in the water.
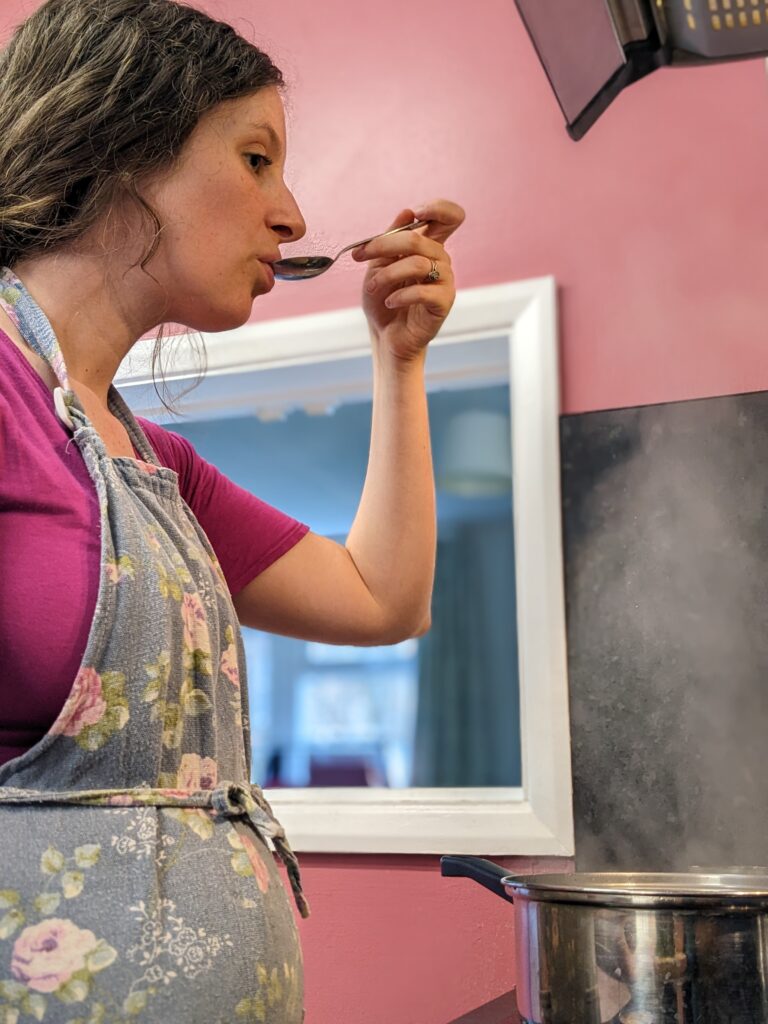
Taste the water at this point to see if it is salty. There should be a fairly strong taste of salt in the water when you try some. Add more salt if you can’t taste the saltiness at all.
Once the water is boiling, drain off your soaking rice with a strainer and add to the salted water. Keep the pot on high heat and watch closely for the rice to start boiling in the water.
After about 4 minutes of boiling, taste some of the rice with a spoon. You want the rice to be about 75% cooked. It should not have a hard bite to it, but it should not be totally cooked. Along with tasting it, I also smoosh a few pieces between my fingers to see if they softly break apart instead of cracking. The soft breaking with a bit of goo is the feel that you want to have. Take it off the heat.
6. Layering the Biryani
Once the rice is cooked, drain it with a strainer and layer it over the chicken in the big pot. Make sure when draining the rice that you get out as much water as possible. The rice should be damp looking, but you do not want to pour any water into the pot with the chicken.
After the rice is layered, place the big pot with the rice and chicken on the stove on high heat.
Quickly add the toppings in this order:
Melted butter. Pour around the top of the rice so that it is spread evenly.
Saffron milk. Pour similarly to the butter so that it spreads evenly. Sometimes the saffron strands stick together quite a bit and it helps to spread them out with a spoon once it’s been poured.
Fried onions. Place them on top of the rice in the middle, no need to spread.
Chopped coriander (cilantro) and mint. Lastly place the chopped leaves on top of the onions to cover them totally.
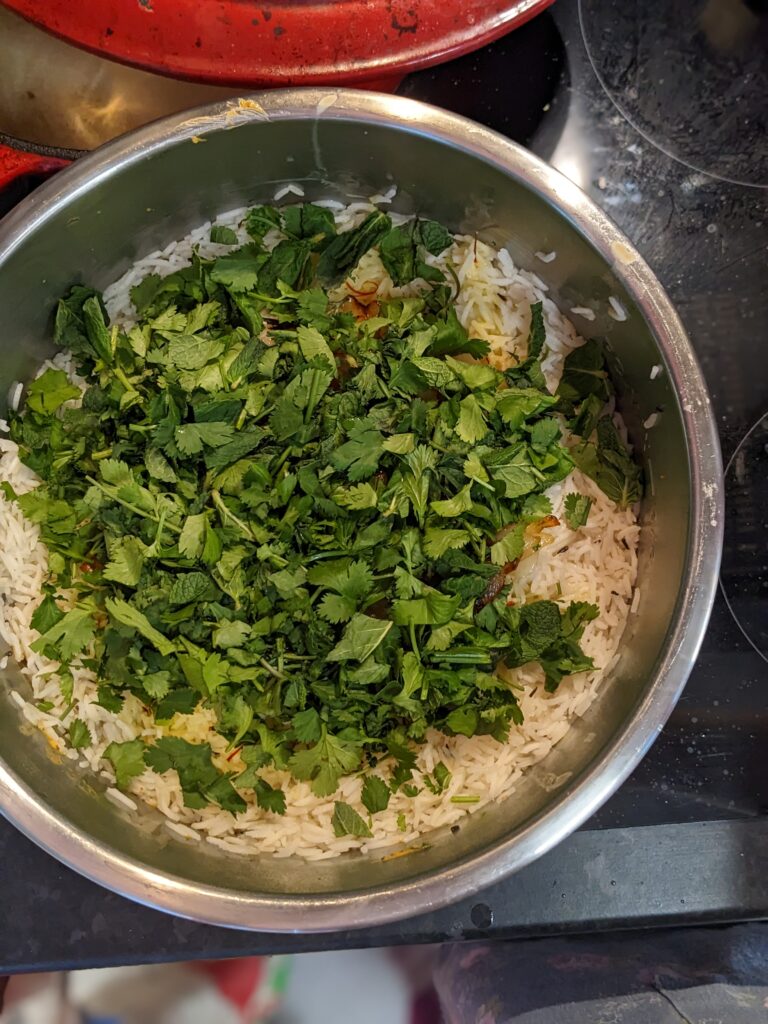
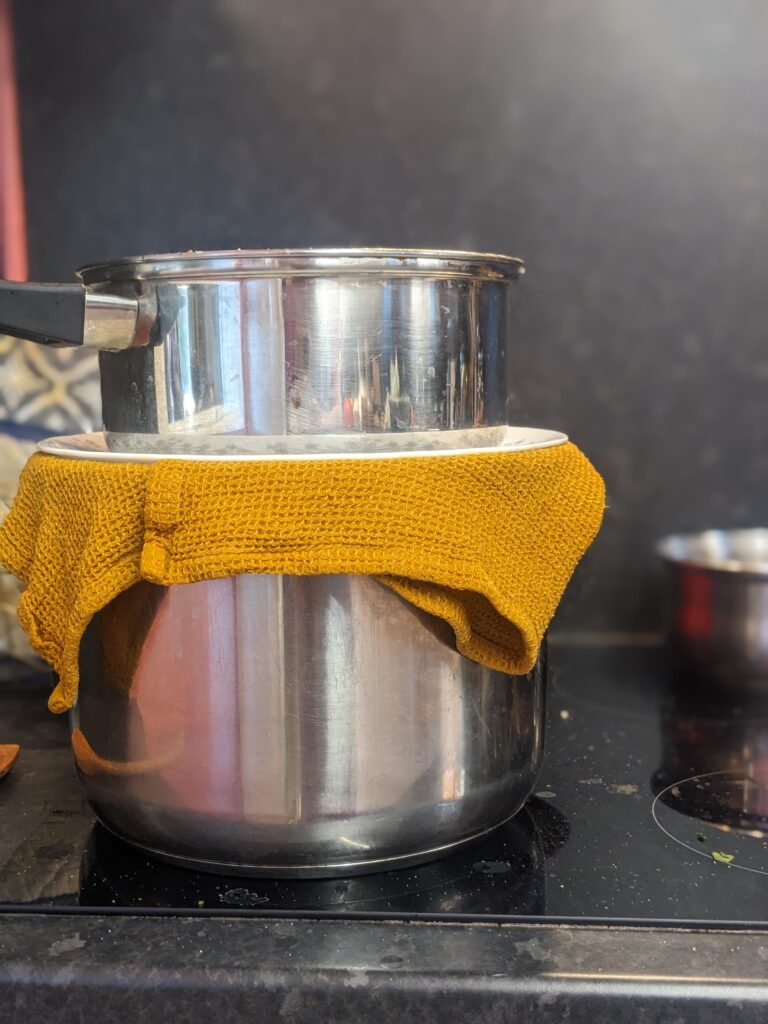
Once you have placed all the toppings on the biryani, wet a tea towel or large napkin and cover the pot with it. Then place on the lid (the towel should make it tight). I do not currently have a lid for my instant pot pot so I use a glass plate.
If it is possible, place some water in a smaller pot or measuring glass and place it on top of the lid of your pot. You may not be able to accomplish this because of how your lid is made, that’s alright. However, if you can have any extra weight on top of the lid to hold in the steam, that is the goal! Because I use a glass plate, I fill up the pot that had the rice in it with water and place that on the top for cooking.
7. Cooking the biryani
Once all the layers have been added to the pot and you have sealed it well, cook it on high heat for 6 minutes. Set a timer for this length as it is very short and goes by quickly.
After the 6 minutes have passed, turn to medium/low and cook for 35 minutes.
8. Prepare raita.
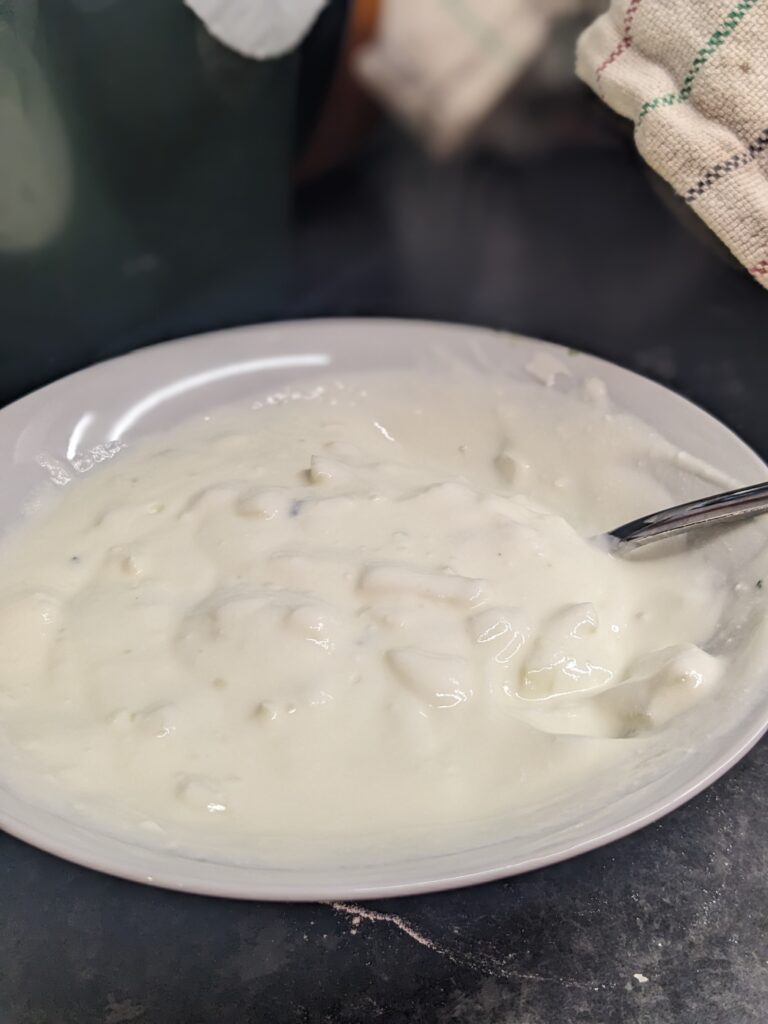
While the biryani is cooking for 35 minutes, you can easily prepare the raita to serve with the dish. Simply dice an onion into very small pieces and mix into 1.5 cups of plain yogurt, set aside.
9. Finishing and serving the biryani.
After the 35 minutes of cooking have elapsed, remove the lid to check on the biryani. *Do not stir or disrupt the layers of the biryani at this point!
Simply take a long spoon or utensil and slide it down the side of the pot. Pull in toward the middle so that you can see the chicken at the bottom. If there is a lot of water still bubbling at the bottom, you need to cook it longer. Leave the pot on the medium/low heat and check again this way in 10 minutes.
Be sure to check it after a few minutes because you do not want the chicken and marinade at the bottom of the pot to get burned.
The biryani is finished when there is no longer water bubbling at the bottom of the pot and the chicken and rice are cooked through. If you’re not sure, carefully pull out some of the chicken to check the color for doneness. And it may sound funny, but you will also be able to smell all the spices very well (even though the pot is totally covered) when the biryani is completed.
Once the biryani is cooked through, remove it from the heat. Serve hot, being sure to reach to the bottom with your serving utensil and get the pieces of chicken out. Serve with the raita you made or with plain yogurt.
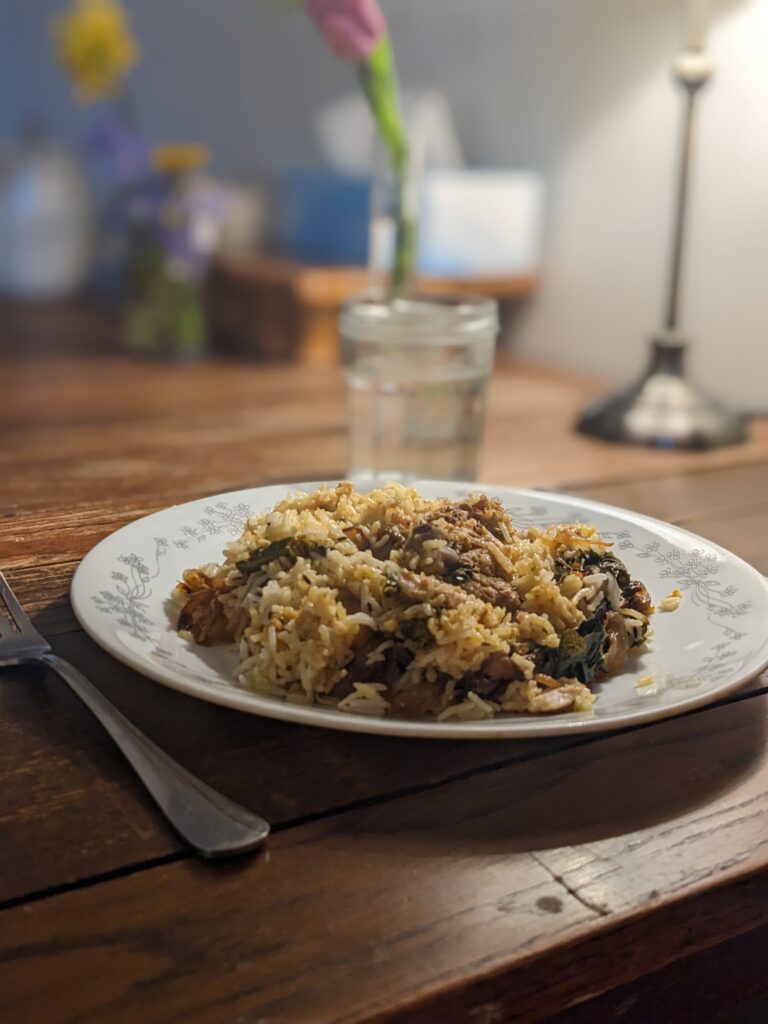
Any leftovers can be refrigerated in an airtight container for up to a week.
I hope you give this delicious recipe a try… I’m sure it will become a new favorite!
